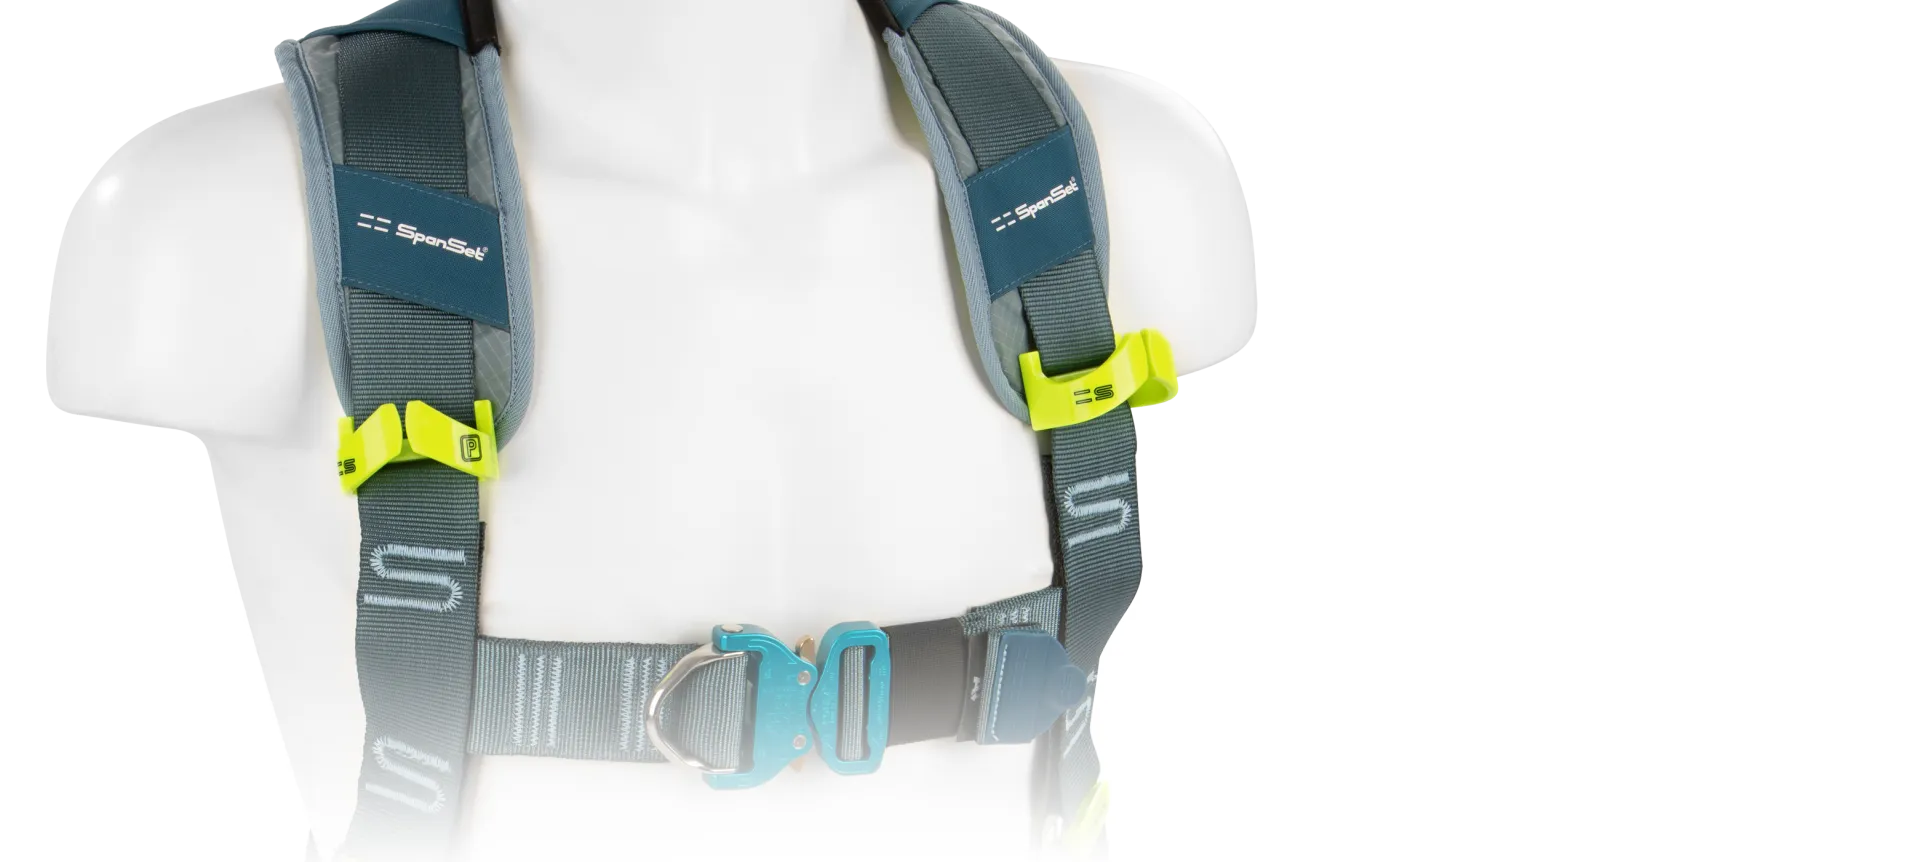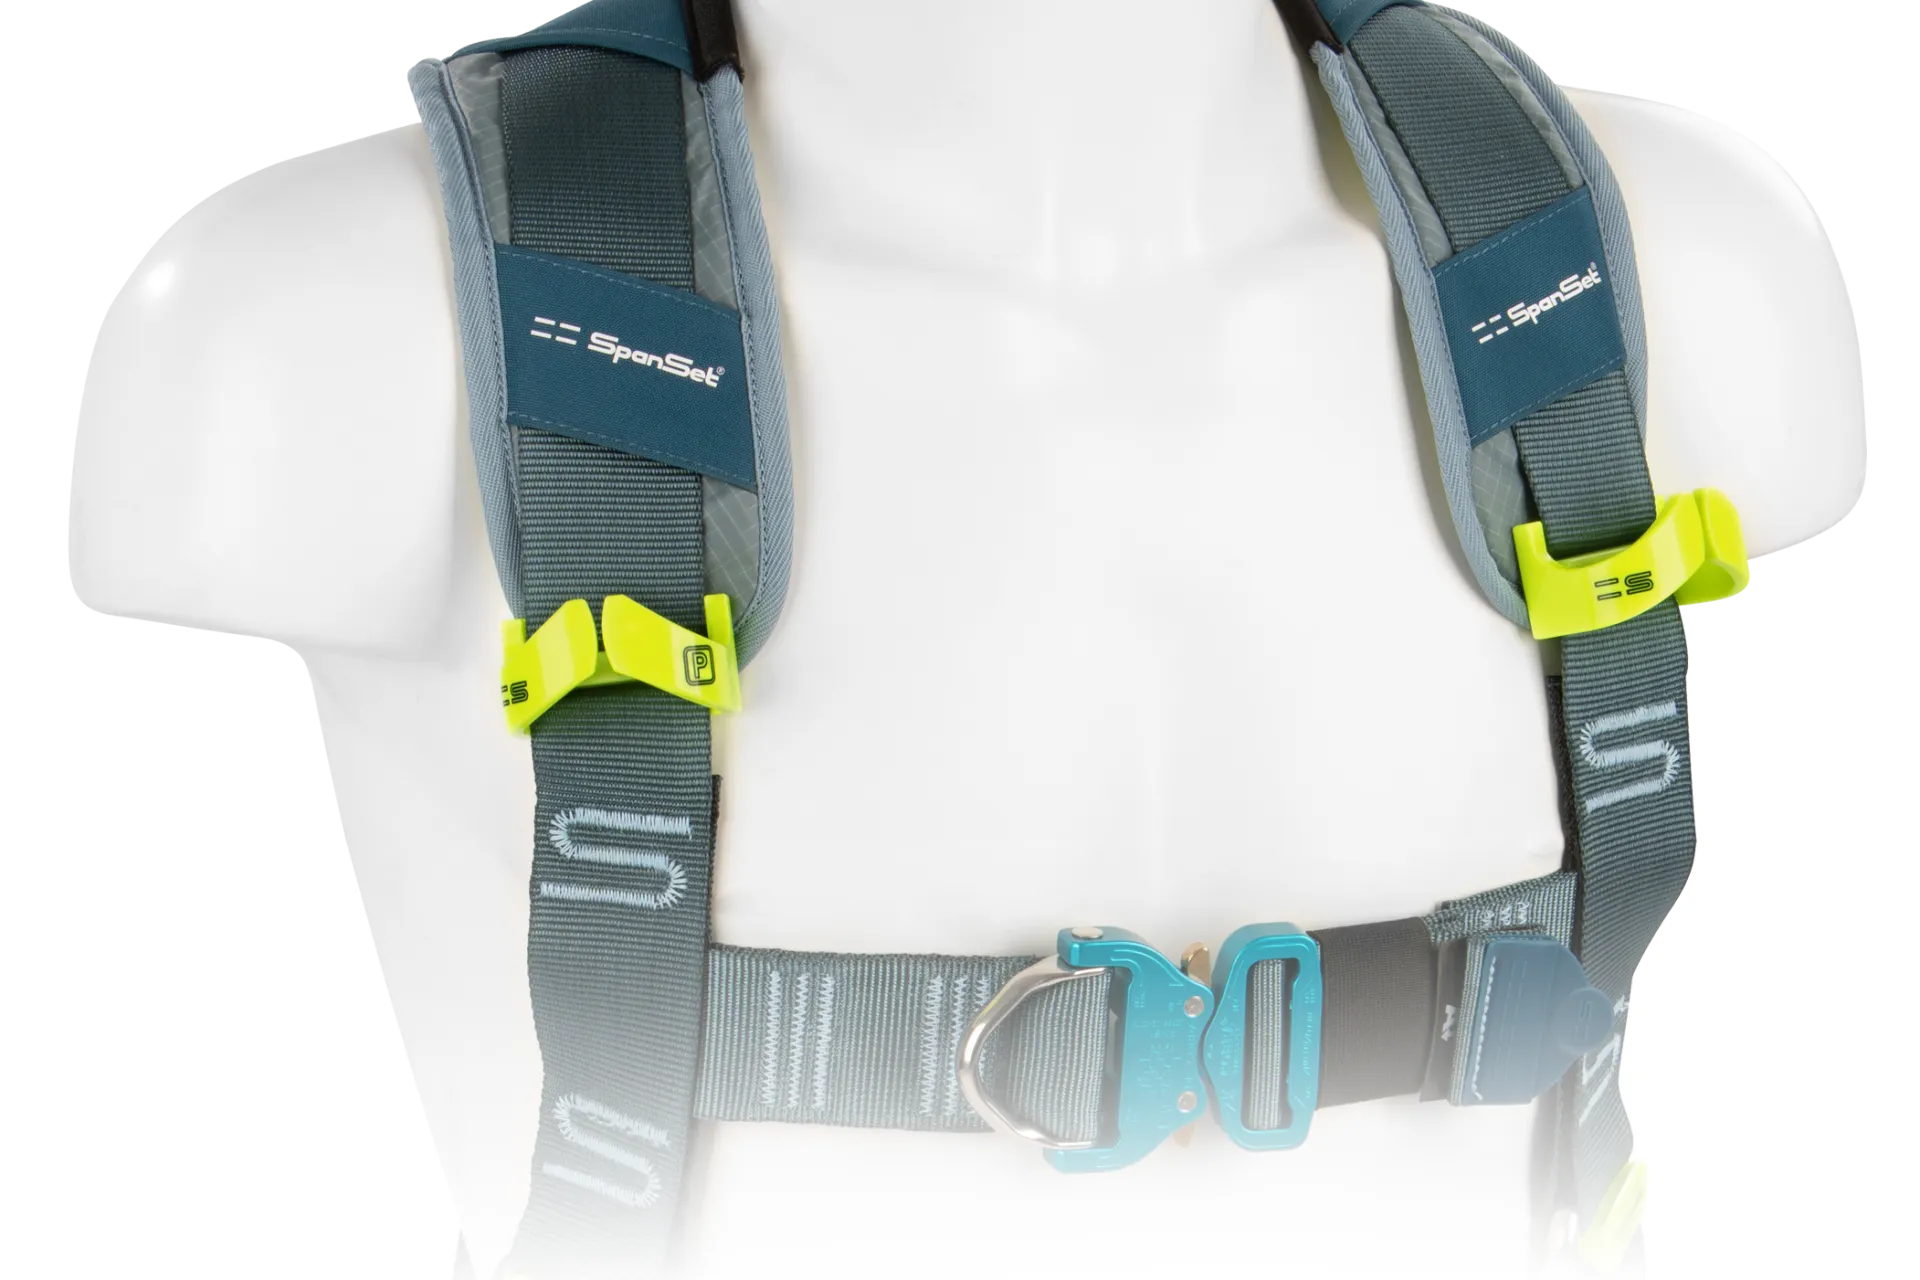
Lanyard Parking Point
Innovative design creating a smart solution to a potentially serious problem.
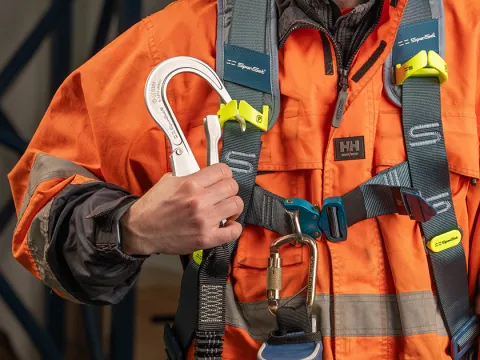
Lanyard Parking Points, found on most Fall Protection Harnesses are at first glance a simple accessory, however they perform two important functions:
1
By ‘parking’ your lanyard neatly out of the way when not in use, the risk of tripping and falling – especially from height - over a trailing lanyard is avoided.
2
When using a twin lanyard, a Lanyard Parking Point allows the stowed anchor connector to tear itself free if a fall occurs. If it didn’t, the wearer could fall onto the stowed lanyard, potentially stopping the shock absorber deploying correctly. This could result in a significant impact force on the fallen worker, running the risk of serious injury.
New - SpanSet Hi Vis Lanyard Parking Point

New - SpanSet Hi Vis Lanyard Parking Point

When designing our new Excel-Pro harness range we decided to upgrade the lanyard parking point (LPP). The brief to the in-house Design Team was for a safe, simple to use and robust LPP – a product unique to SpanSet, a product we would be proud to put our name on.
The design process took 6 months with many 3D printed versions trialled and tested before the finished lanyard parking point met with approval and went into production.
Designed for Safety
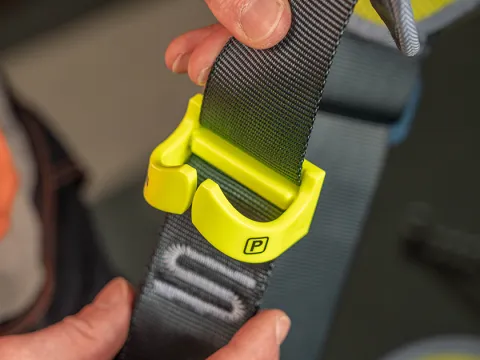
The central slot allows the lanyard anchor hook to quickly release from the parking point if put under load during a fall. This ensures the shock absorber can deploy correctly.
Adaptable
Innovative captivating bar allows the LPP to be easily retrofitted onto any 45mm harness webbing.
Robust -
Manufactured using ABS Plastic. A shock resistant, strong and recyclable material durable enough to last as long as the harness.
Stays securely in position
The captivating bar grips the webbing holding the LPP securely in position while in use. However, smart design allows the wearer to quickly reposition the parking point on their harness as required.
Reduces Harness Wear
The curved horn shape of the two sides holds the hook away from the webbing, reducing wear and prolonging the life of the harness.
Hi Vis Neon Yellow Colour –
Easy to see and find when looking for the correct place to stow your lanyard.
Excel-Pro Harness
Easy to fit!

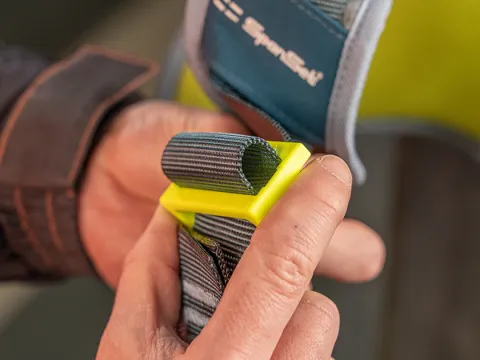
Step 1
Fitting to harness
Thread the parking point onto the harness by passing the web through the channel at the front of the main body.
Instruction Video
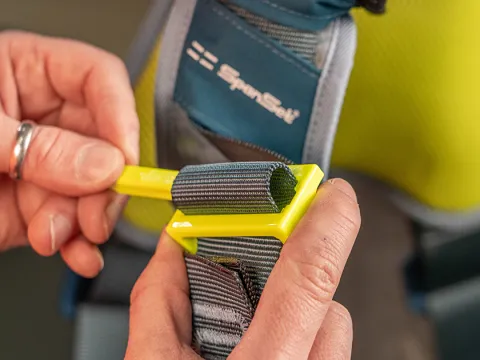
Step 2
Fitting to harness
Flatten the web against the back of the main body and push a loop of web through the rectangular opening.
Step 3
Fitting to harness
Thread the retain bar through the loop. Press the retaining bar into the slot at the rear of the main body and ensure it is seated correctly.
Step 4
Fitting to harness
Pull the webbing from each end to pull the loop tight against the bar and the main body. (When tensioned correctly the parking point shoudn't be able to move freely up and down the webbing.)
Step 5
Using your parking point
When using the parking point place and remove connectors by clipping in and out properly through the connector gate.
DO NOT remove the connector by pulling through the channel on the front of the parking point.

Step 6
Using your parking point
When the connector is clipped in, ensure it is seated in the curved recess at the side of the main body and not against the gap at the front.
Fits any 45mm webbing harness.
Upgrade your safety harness with the SpanSet Hi-Vis Lanyard Parking Point.

